Review of Adobe After Effects 7.0 Professional
Introduction
I’ve been a Graphic Designer and Interactive Developer for more than 15 years and have been using Adobe After Effects on a regular basis since version 5.5. After Effects is a powerful motion graphics tool, and more, for both video and interactive designers. Since the release of Macromedia Flash 8 with its enhanced video playback capabilities, I’ve used After Effects even more to enhance my interactive projects. With After Effects 7.0 Professional, Adobe has created a robust tool that can be a part of any interactive workflow.
Compact and Customizable Workspace
The new docked panel interface saves time. With one click access to properties in your panels you don’t need to drag them out of the way to get to what you’re after. Everything’s nicely attached so they don’t overlap and get in the way. Simply drag the divider bars between panels to customize your workspace. Adjacent panels adjust automatically. Click and drag them to new “drop zones” to place them wherever you want. You can still create floating palettes if you prefer, which is useful in multiple monitor setups.

Default docked panels

Drag and drop panels into new drop zones
Of course, once your workspace is set the way you want, you can save it. The built in workspace presets are well thought out as well and I find myself changing them often depending on what I’m doing. With the workspace selection dropdown at the top right of the screen, it’s easy to switch your workspace quickly.
A cool new feature is the ability to alter your User Interface colors in your Preferences. Drag the Brightness slider far to the left to darken the background and the text automatically inverts! Very easy on the eyes. My optometrist would be pleased.


Set custom user interface brightness settings
Effects, Presets and Templates Galore
If you’re new to After Effects or just want to learn how to pull off some new effects, the Effects & Presets panel is packed with shortcuts to get you up to speed fast. Just drag an animation preset or effect to an existing layer in your timeline and play with the settings to get professional results quickly. If you’ve never used After Effects’ expressions before, there are several preset examples for you to try out and learn from.Besides the Effects & Presets panel, After Effects comes with many more effects and project templates that you can access through Adobe Bridge. Choose “Browse” from the “File” menu to launch Bridge and begin exploring. You’ll find several backgrounds, transitions, color correction effects and more. To me, the most useful presets are the text effects. There are hundreds to choose from.
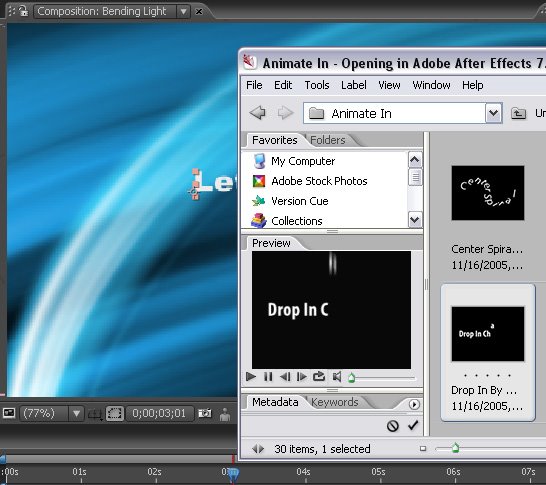
Browse presets using Adobe Bridge to apply timesaving effects
Graph Editor
The new Graph Editor for animation has some powerful features. Click the Graph Editor button at the top of the timeline to see animated layer and effects properties shown in graph form. The graph will change scale automatically as properties change if you keep the autozoom graph height button selected. Select several animated layers on a timeline and you’ll see all the animated properties layed out in the graph. Each property is color coded for identification. I recommend opening the graph editor full screen (by pressing the tilde key when your mouse is over the timeline) to see things more clearly though. Edit multiple keyframes at once by dragging your mouse around several and stretching the selection rectangle that appears, similar to Adobe Photoshop’s Free Transform tool (see image below).

The Graph Editor allows editing of multiple keyframes at once
I found the Graph Editor to be somewhat cumbersome to use compared to other graph editors when it came to adjusting speed values though. You can switch graph modes by right-clicking the graph and choosing either “Edit Value Graph” or “Edit Speed Graph”. In Edit Value mode, everything works as you’d expect. You can adjust values over time with Adobe Illustrator-like bezier controls on keyframe points to create eased transitions, or click one of the Easy Ease buttons to do it for you (see image below). In Edit Speed mode, however, the bezier controls work differently and can be difficult to adjust. This forced me to leave the Graph Editor for position and rotation adjustments at least, and use the motion path instead (in the composition window).

The Graph Editor lets you customize values with easy bezier controls in the value editing mode
Working with Flash
After Effects 7.0 has added the ability to output alpha transparent video directly to the Flash FLV format. Previously, you would have to render to a video format like Quicktime first. Then use either the Flash 8 Video Encoder or the Flash authoring tool to convert the video to FLV. You’ll notice After Effects’ output to FLV is slower than using Flash 8 Video Encoder, but that’s because it has to render each frame first, not just re-encode from another video format. Keep in mind, if you use cue points in your FLVs, you can’t add them directly using After Effects FLV export. You’ll still need to render a Quicktime instead, and add the cue points when encoding through the authoring tool or Video Encoder.
Integration with Other Adobe Applications
Adobe After Effects 7.0 has given Breeze new life for me. Since Breeze was added to the Adobe suite of products a few years back, I was less than impressed with it. However, after using it with the new After Effects, it’s become much more valuable as an asset manager and browser.
Adobe’s done a good job of integrating its other software packages with After Effects 7.0. Start a new Photoshop file from within After Effects and, if you have Photoshop CS2, the file will be set up correctly to match your comp’s settings with pixel correction and all. This saves some of the trouble when deciding on square vs. non square pixels in your Photoshop assets.

Adobe Illustrator vector comp layer scaled to 750% with Continuously Rasterize off

The same comp layer scaled to 750% with Continuously Rasterize turned on
Performance
As far as performance, I was pleasantly surprised how well the new After Effects ran on a PC with even the minimum required RAM (512MB). I noticed only minor delays during RAM previews with Motion Blur and Advanced 3D rendering turned on. Obviously, the more RAM the better though. Everything seems to run faster than previous versions of After Effects.
Conclusion
On my wish list for the next version of After Effects is a more complete Graph Editor with fine control over any animated property (in any graph mode). Also, since I have used After Effects 7.0 on both a Macintosh and a PC, I noticed Adobe dropped the Windows Media format from the render output settings in the Macintosh version. This common format is a necessity in some shops and should be brought back if possible.
Pricing from adobe.com
Adobe After Effects 7.0 Professional:
- $199.00 upgrade
- $999.00 full version
- $99.00 upgrade
- $699.00 full version
posted by wLinkin @ 12:15 PM
0 comments
![]()
![]()


0 Comments:
Post a Comment
<< Home